Setup Seamless in Microsoft 365
Seamless consists of two components:
- The web-based Admin Center, where Microsoft 365 administrators configure templates and policies
- The Microsoft Teams app, which is used by end users
Follow this guide to sign in, grant the required permissions, and restrict access to the Seamless Admin Center to specific users or groups.
If this feels too complex or time consuming, we are happy to help.
Feel free to book a guided setup with one of our specialists ↗︎ (opens in a new tab)
You will receive personalised guidance at your own pace, with no obligation.
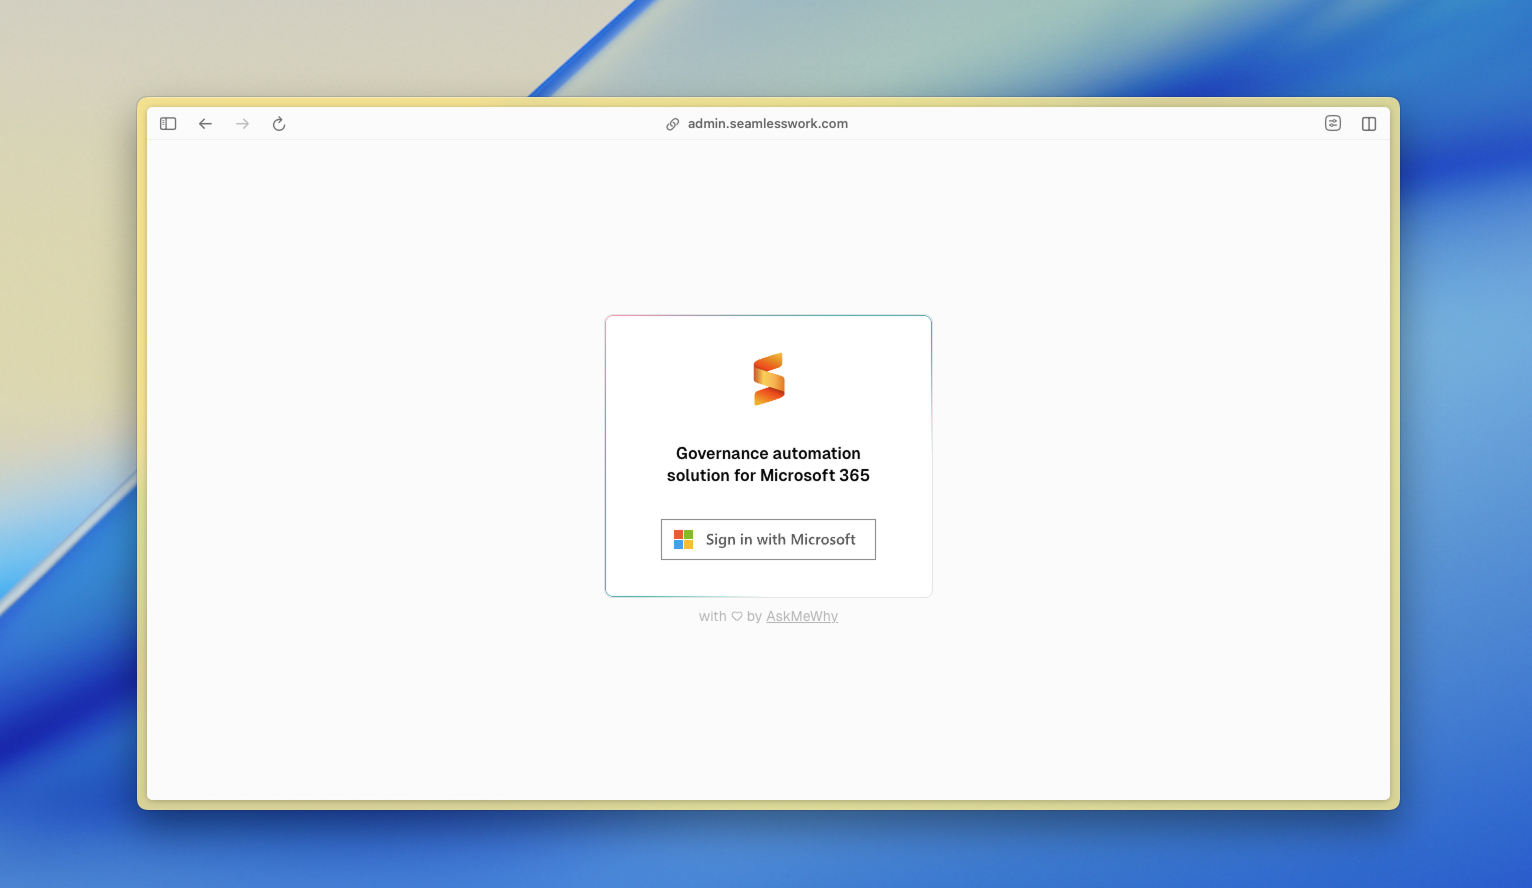
Sign in to the Seamless Admin Center
Sign in to the Seamless Admin Center using your Microsoft 365 Global Administrator account at https://admin.seamlesswork.com (opens in a new tab)
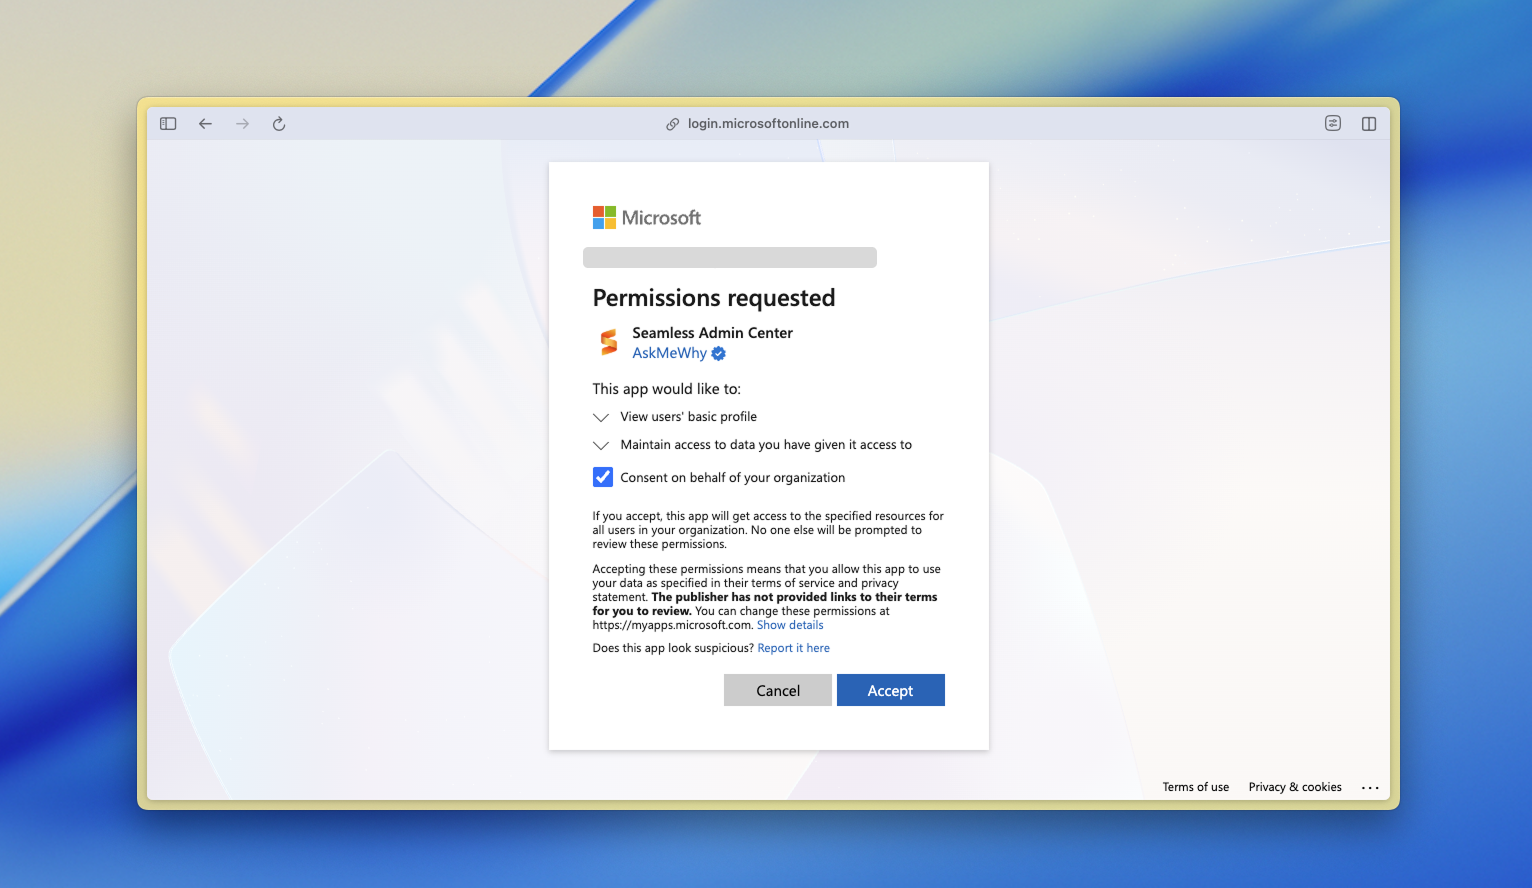
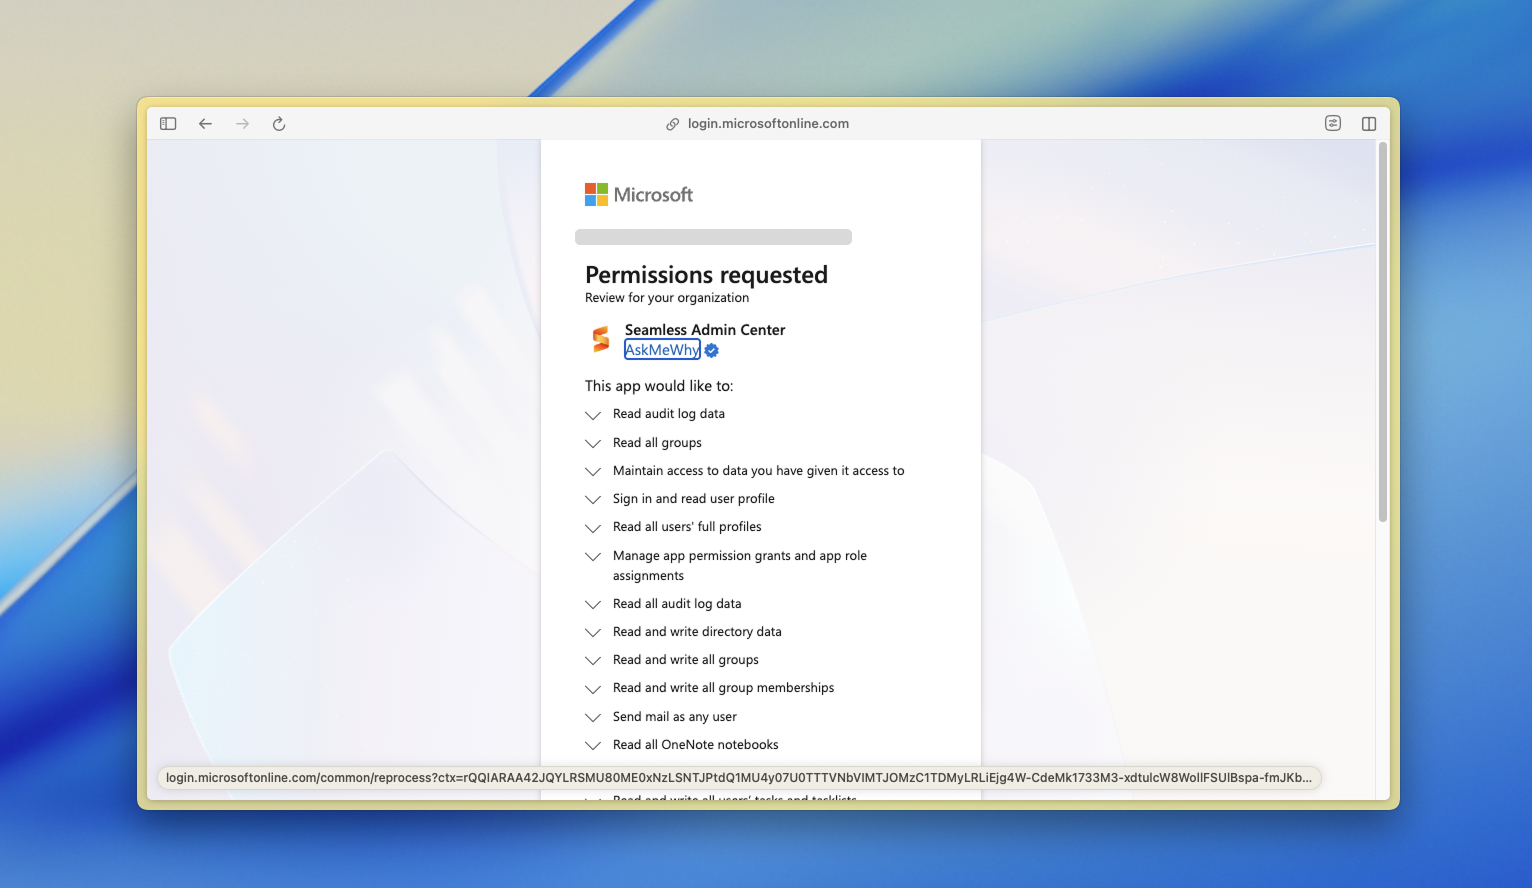
Consent basic permission request
Review the permissions request, select Consent on behalf of your organization, and click Accept.
These permissions grant basic access to the Seamless Admin Center but do not allow configuration changes. Full permissions will be requested in the next step of the setup wizard. You may exit the setup and resume under https://admin.seamlesswork.com/setup (opens in a new tab).
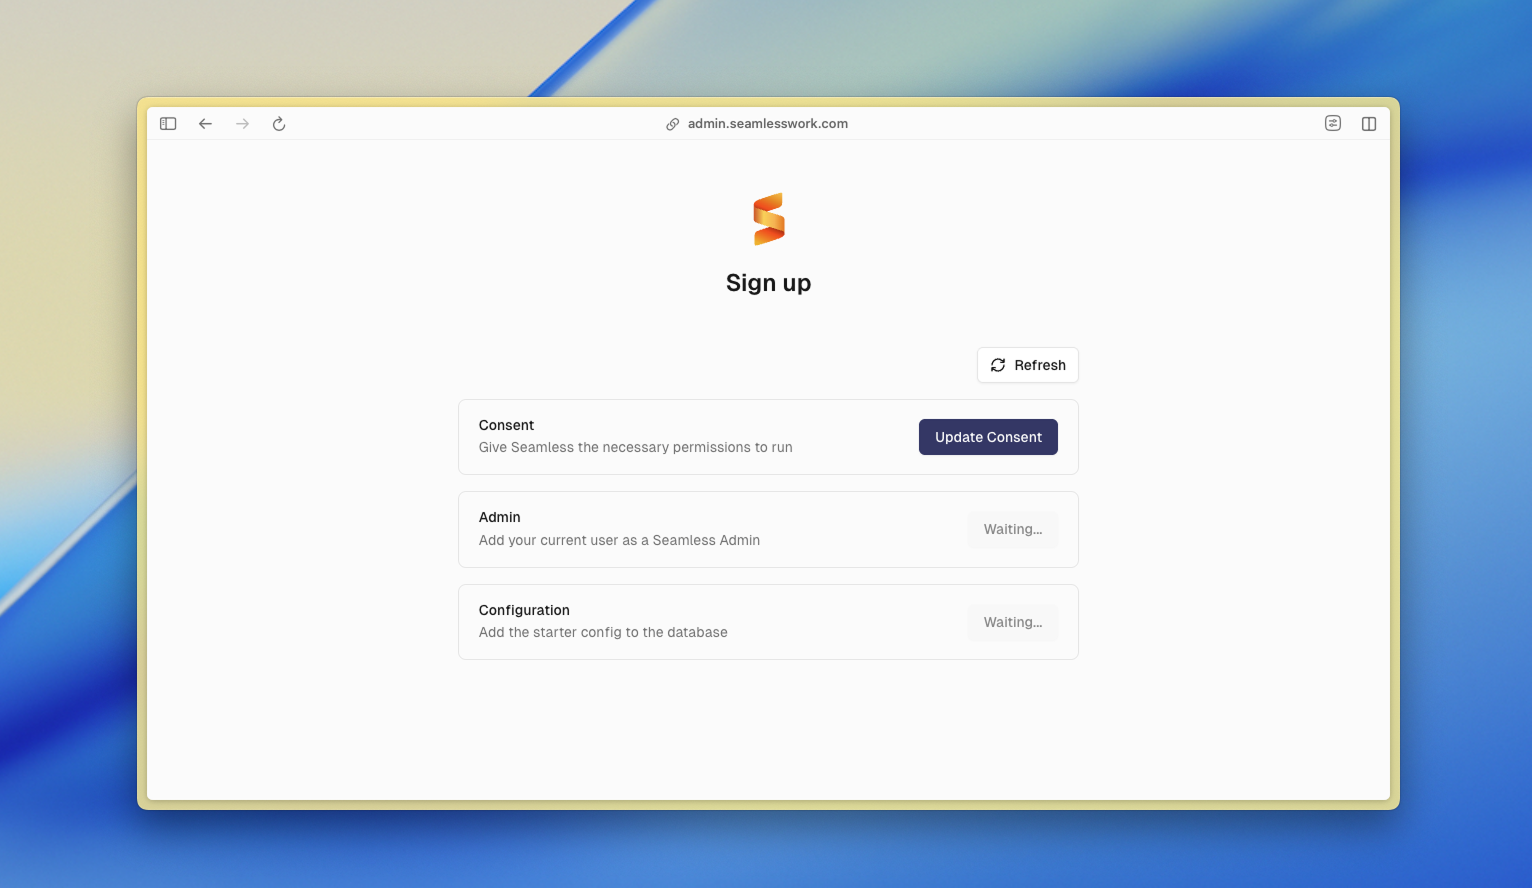
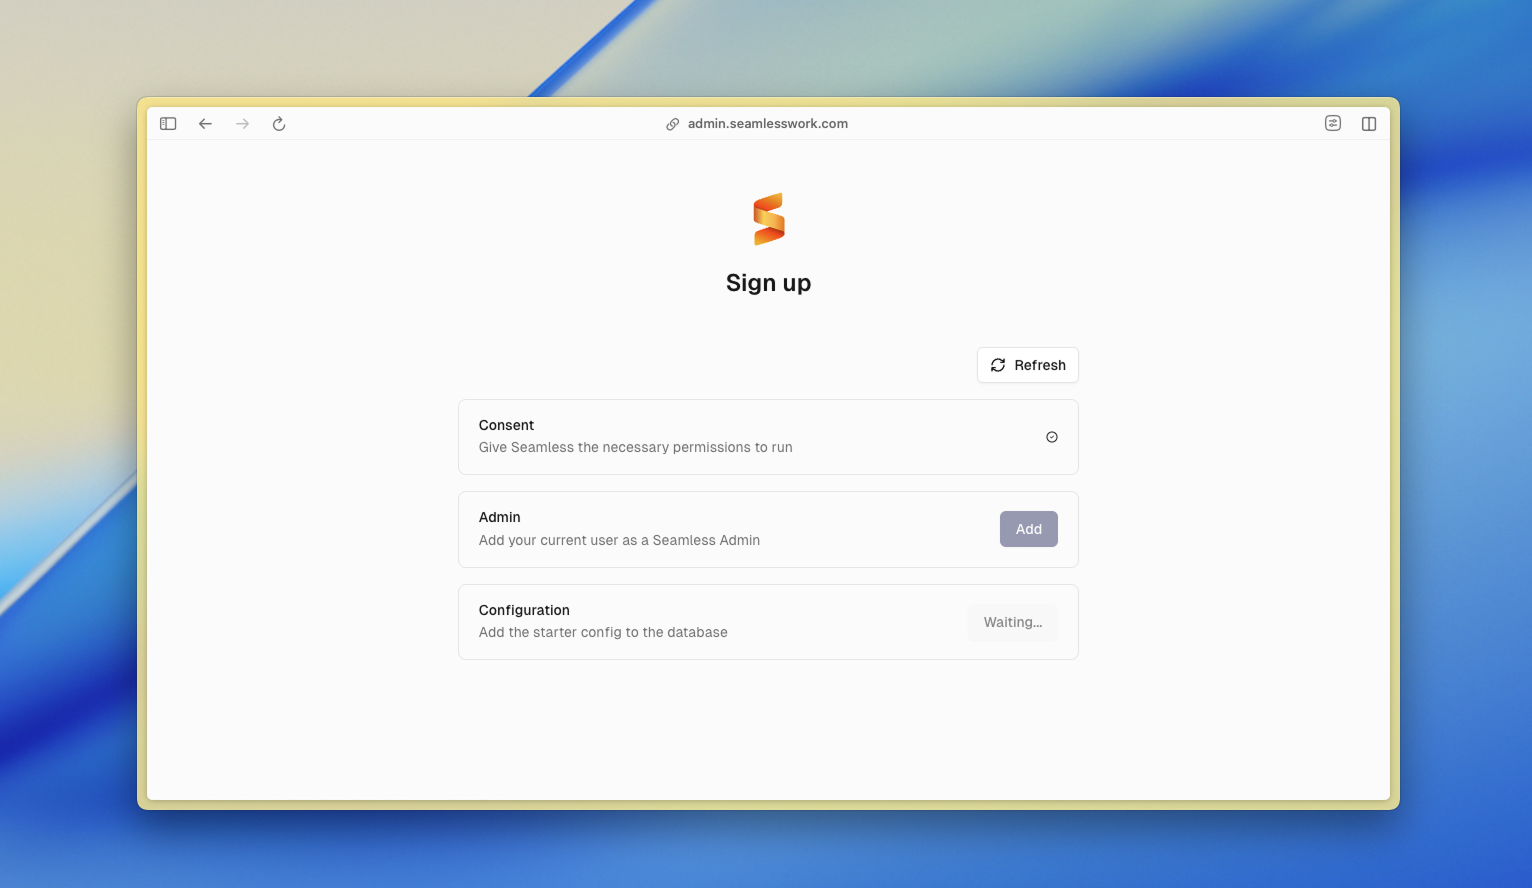
Setup wizard
You are now in the Setup wizard, which guides administrators through the initial configuration required to fully operate Seamless. It ensures that all mandatory steps are completed in the correct order before the service becomes fully available.
The wizard includes the following steps:
- Consent: Grant the required Microsoft 365 permissions so Seamless can operate correctly.
- Admin: Assign the current user as a Seamless administrator.
- Configuration: Apply the initial configuration to prepare the environment.
The Consent and Admin steps must be initiated manually by the user. The Configuration step runs automatically once the first two steps are completed. The setup wizard remains visible until all required steps have been completed successfully.
Consent
In the setup wizard, start with the first step, which requests consent for the app permissions.
Click Update consent and sign in again using the same Microsoft 365 Global Administrator account to refresh the permission token.
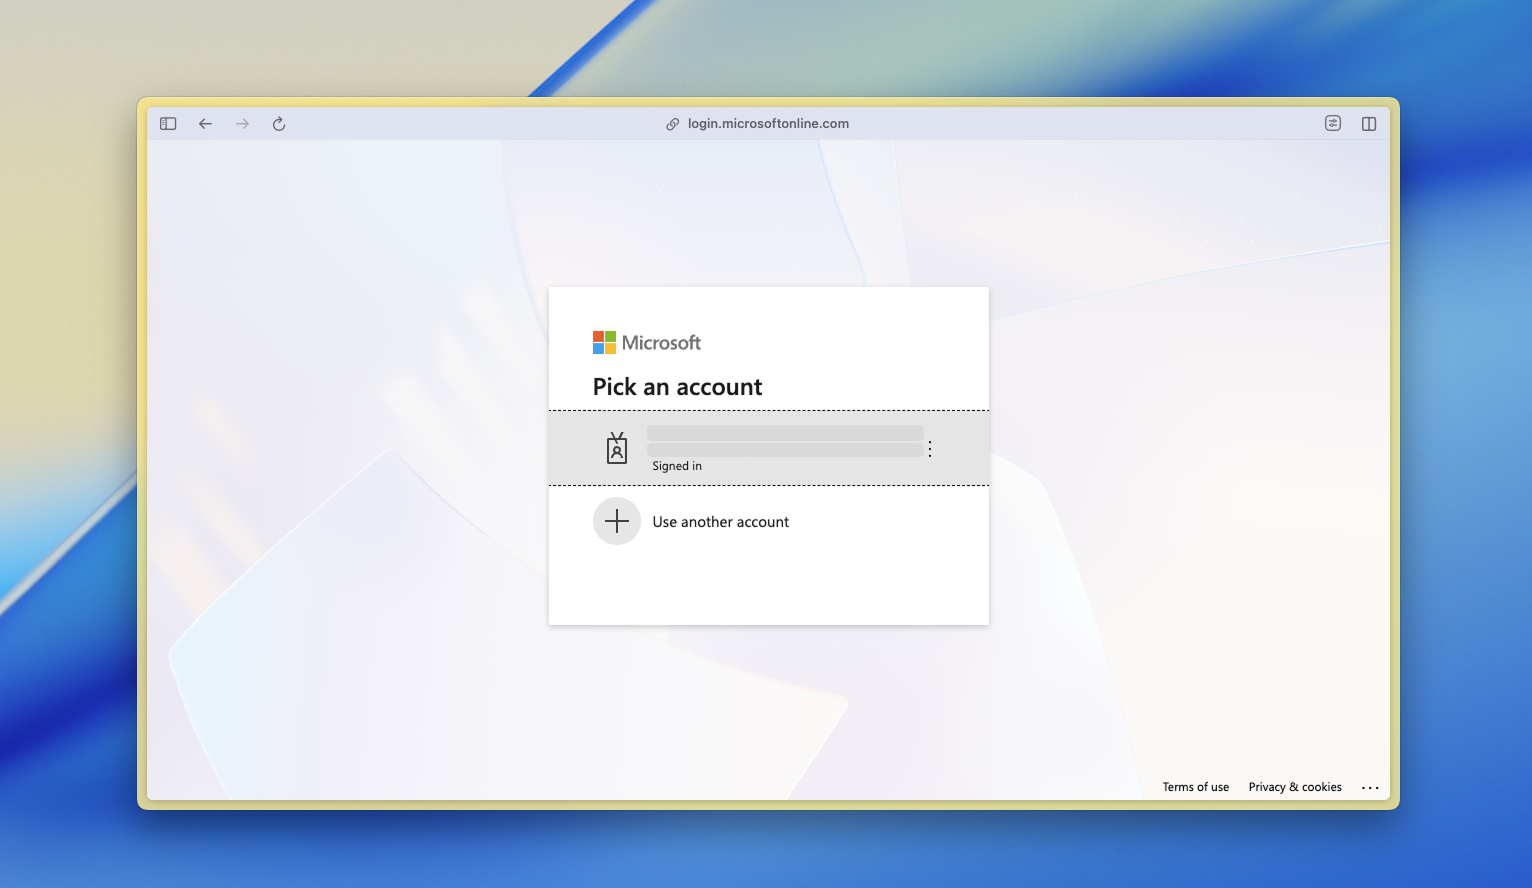
After signing in, review and accept the permission request.
After you have granted consent, Seamless confirms that the permission update has been received. Microsoft Entra may take a short moment to propagate the changes. During this time, the consent step shows a status message indicating that the update is in progress. You can use the Refresh button to check the current status.

Once the changes have propagated in Microsoft Entra ID, the message will disappear and the step will be marked as complete.
Add application admin
The Seamless Admin Center requires at least one application administrator to be assigned in Microsoft Entra ID. During the initial setup, the currently signed-in user is added as an application administrator to the Seamless enterprise application. Additional administrators can be assigned later in Microsoft Entra ID or through the Seamless Admin Center.
To assign the current user as an administrator, click Add in the Add application admin step of the setup wizard.
Configuration
After the application administrator has been assigned, the configuration step runs automatically. This step registers your tenant in the Seamless configuration database and is required to enable and manage Seamless services for your Microsoft 365 environment.

The setup of Seamless in Microsoft 365 is complete. You can now create templates and policies and manage Teams and guests in the Admin Center.
If you require assistance getting started, you can book a free guided setup ↗︎ (opens in a new tab) with one of our specialists and receive personalised guidance at your own pace.
Troubleshooting: Insufficient Permissions
This message appears when the signed-in user does not have the required administrative role assigned to access the Seamless Admin Center.
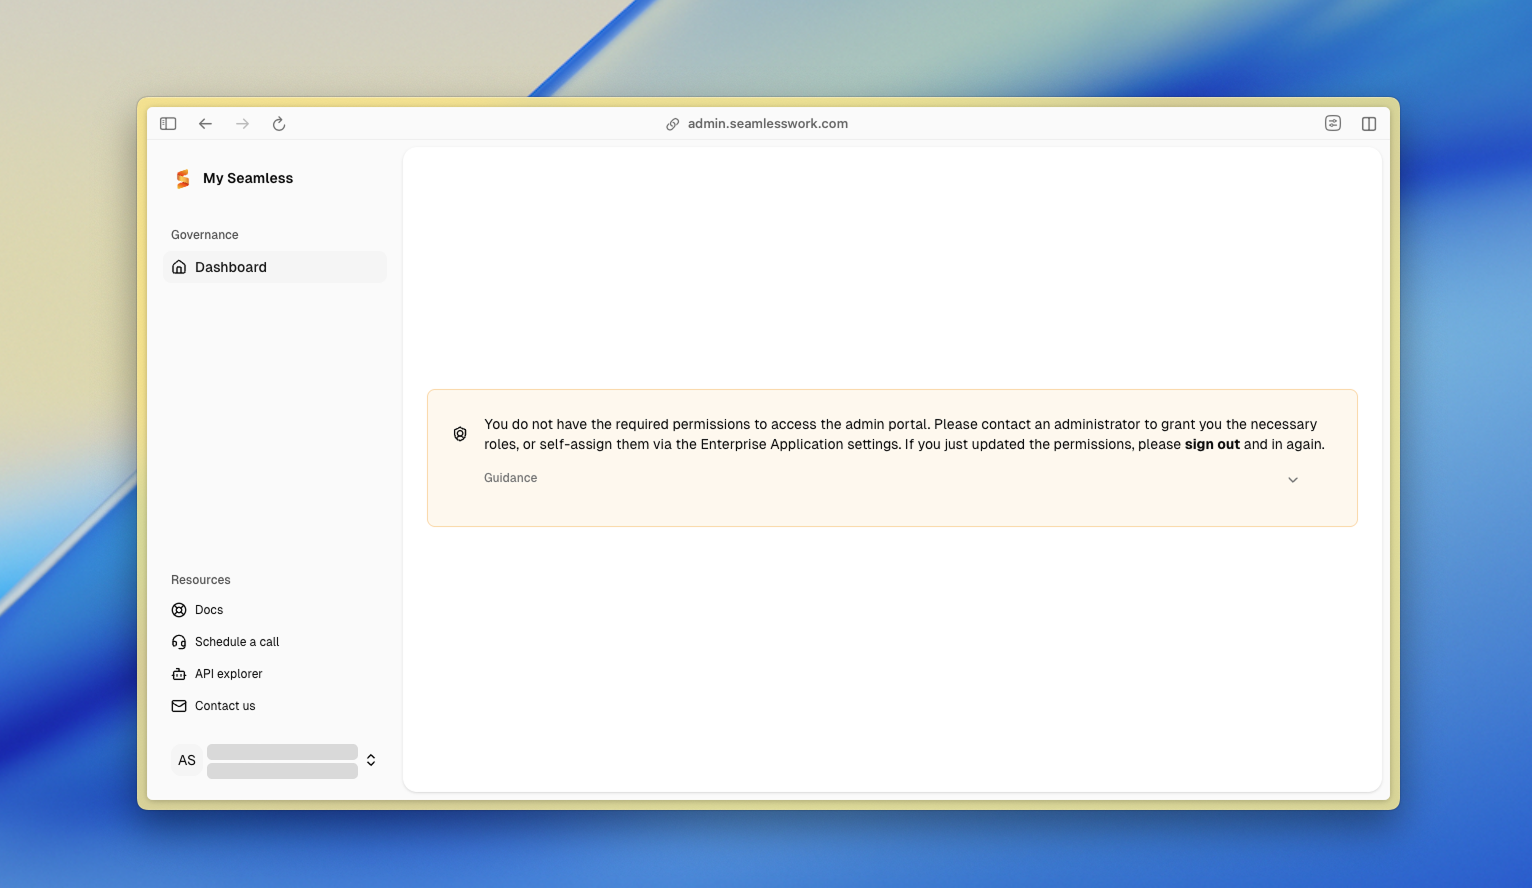
Cause
Access to the Seamless Admin Center is restricted to users who are assigned an appropriate administrative role on the Seamless Enterprise Application in Microsoft Entra ID. If the role is missing or was recently changed, access will be denied.
Resolution
You can resolve this issue using one of the following two methods:
Option 1: Rerun the Seamless Setup Wizard (Recommended)
If you have access to a Microsoft 365 Global Administrator account, you can rerun the setup wizard, which will automatically assign the required application admin role.
- Sign in using a Microsoft 365 Global Administrator account.
- Open the setup wizard at
https://admin.seamlesswork.com/sign-up (opens in a new tab) - Complete the Admin step to assign the current user as an application administrator.
Option 2: Assign the role manually in Microsoft Entra ID
Alternatively, you can assign the role directly in Microsoft Entra ID:
- Sign in to the Azure portal and navigate to Microsoft Entra ID.
- Open Enterprise applications.
- Search for and select the Seamless Admin Center.
- In the left-hand menu, select Users and groups.
- Click Add user/group.
- Under Select a role, choose the Admin role.
- Click Assign to save the changes.
Important
After assigning or updating roles, the affected user must sign out and sign back in for the new permissions to take effect.
If permissions were updated recently and access is still denied, wait a short moment and try again, as Microsoft Entra ID may need time to propagate the changes.
If you require assistance getting started, you can book a free guided setup ↗︎ (opens in a new tab) with one of our specialists and receive personalised guidance at your own pace.