Reset sharing
Resetting shared content in a Teams room is key for maintaining security. Over time, files may be shared with people who no longer need access. Regular resets ensure only the right people have access, protecting sensitive information.
Try it!
If you are ready to try reset sharing, here are some steps to help you get going.
Where to start?
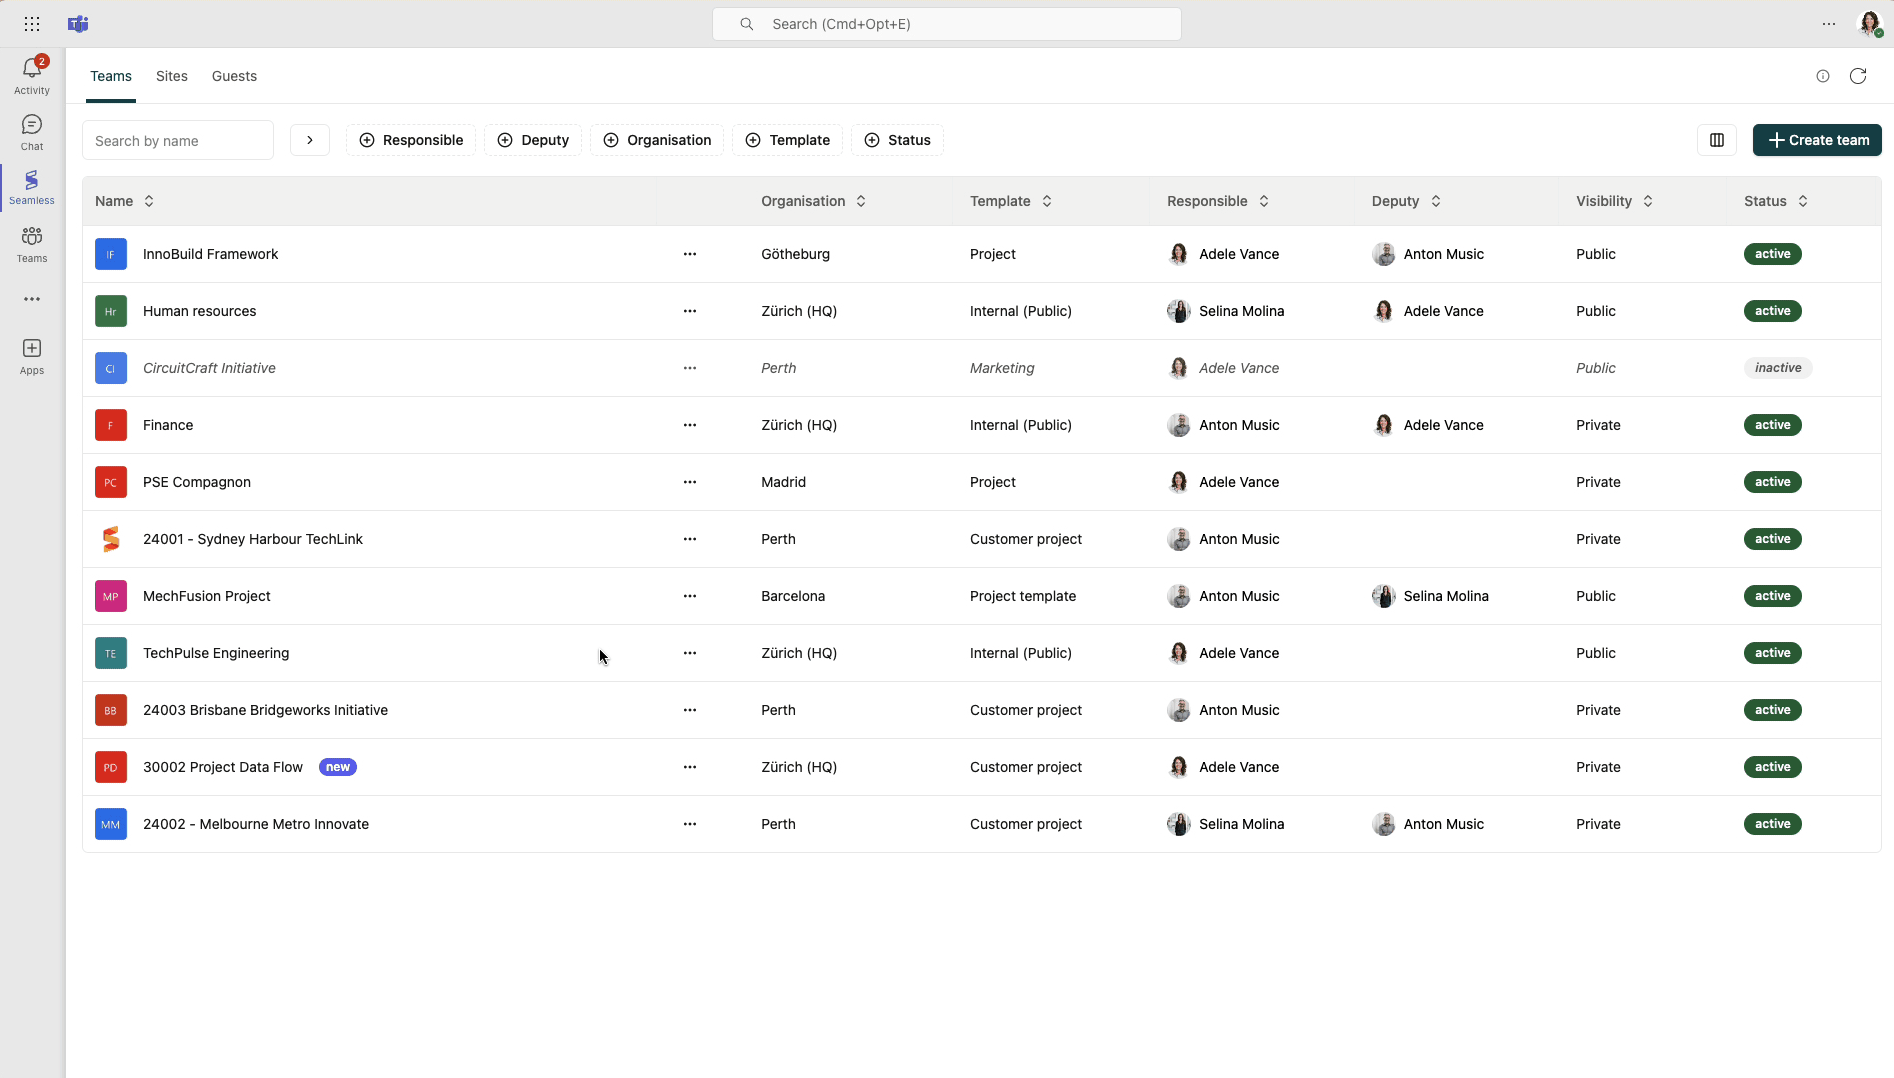
Open the Seamless teams app and select the team you want to reset sharing for. Click on the team name to open the detail view, then go to the Sharing tab. At the top of the page, you’ll find the Reset Sharing section.
Select reset sharing
If you’re a team owner, the Reset Sharing button will be active. Click this button to open the channel selector.
Choose channels to reset
The channel selector will display all channels and, if applicable, the site notebook. Select the areas where you want to reset sharing. When you perform the reset, all sharing links in the selected areas will be removed.
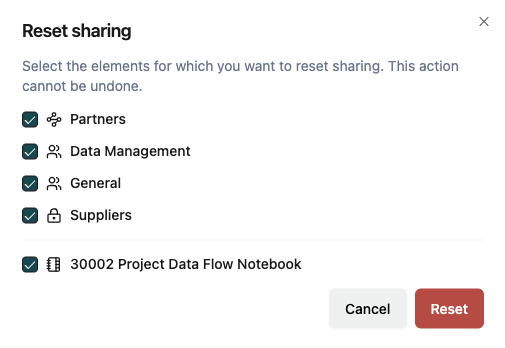
Perform reset
To start the reset, press the Reset button. The reset sharing process will begin and run in the background, allowing you to leave the page.